|
In the What is the Quick Access Toolbar? post, I described how to add a Word command to your Quick Access Toolbar. Here, I explain how to add a macro to the Quick Access Toolbar as there are a couple of extra steps that you need to do. The first few steps are just the same as before. Go to File (at the top left hand side), then Options (right at the bottom in Word 365) and click ‘Quick Access Toolbar’ (which is located just underneath ‘Customise Ribbon’): 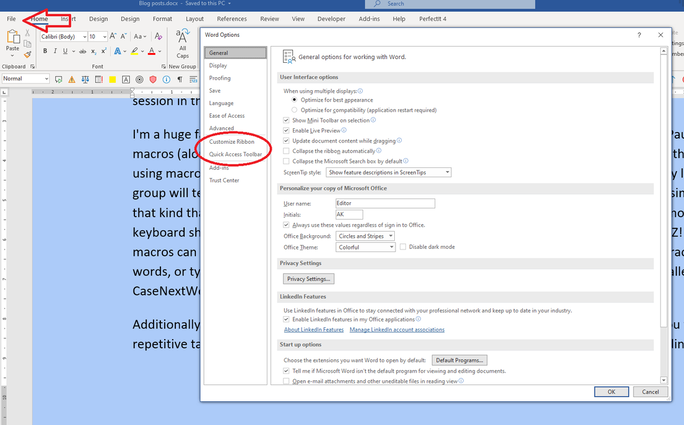 This should bring you to this menu: 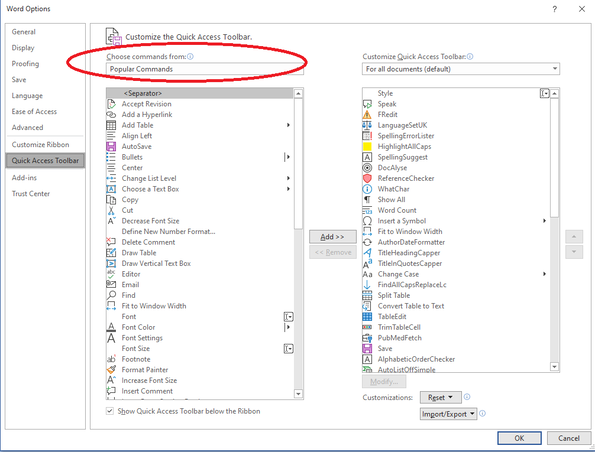 In the ‘Choose commands from:’ menu (‘Popular Commands’ – circled – is the first entry), you will see ‘Macros’ in the list: 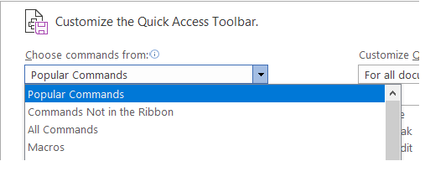 Selecting this will bring up a list of the macros that you have installed on the left ... and what you currently have on your Quick Access Toolbar on the right: 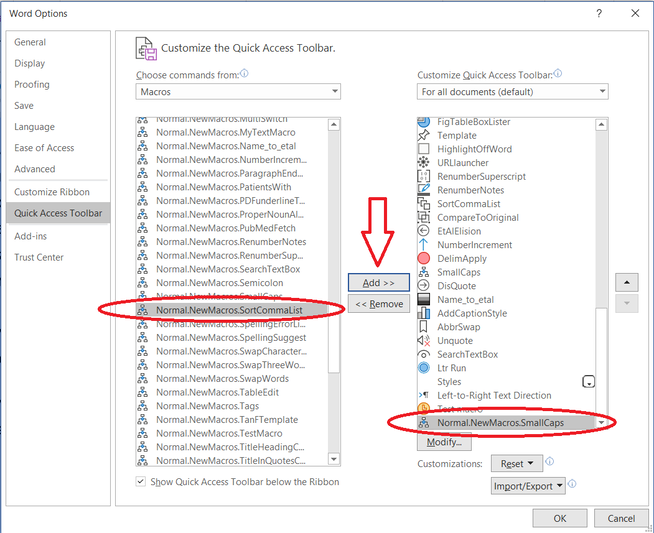 Pick the macro that you want to add to your Quick Access Toolbar (this will be a bit easier for you as your list of macros is probably smaller!). Click ‘Add >>’ and your macro will appear in the list of items on your Quick Access Toolbar. Click ‘Modify’ if you want to edit the name of the macro and to choose the icon that is associated with it: Choose the icon by clicking on the icon you want. You can edit the name of the macro in the ‘Display name:’ box. I usually keep the name of the macro and delete the other information, but you can choose whatever name you want. Your macro should now appear on your Quick Access Toolbar. Remember that you can decide what order your icons are arranged in. I show you how to move things around in the What is the Quick Access Toolbar post.
Archives October 2021 Categories All
0 Comments
Your comment will be posted after it is approved.
Leave a Reply. |
AuthorAndrea at Yours Truleigh Editing Archives
November 2023
Categories
All
|
 RSS Feed